|
|
Reply #788 periwinkle..'s post
I like ur work. Keep up de good work!
 |
|
|
|
|
|
|
|
|
|
|
|
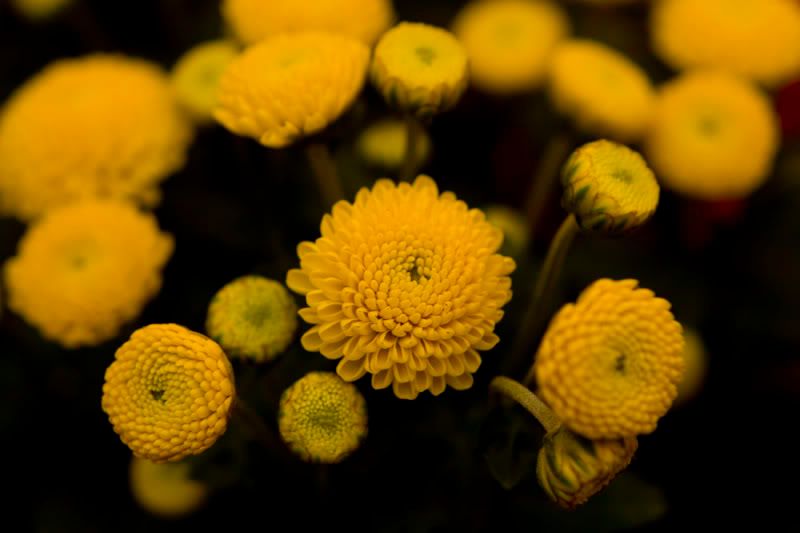
Reply #789 myown_s's post
thanx myown.. tak ada la terer pun, masih beginner lagi..
another one..
 |
|
|
|
|
|
|
|
|
|
|
|
Reply #790 periwinkle..'s post
|
Never mind then. Later on I will show ye guys how to make the best of your shot with Adobe Photoshop using "Lab Color". |
|
|
|
|
|
|
|
|
|
|
|
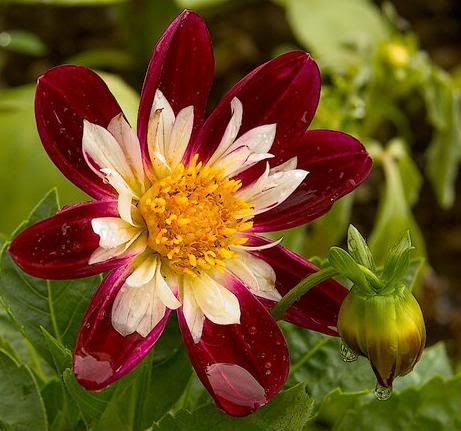
Reply #782 periwinkle..'s post
|
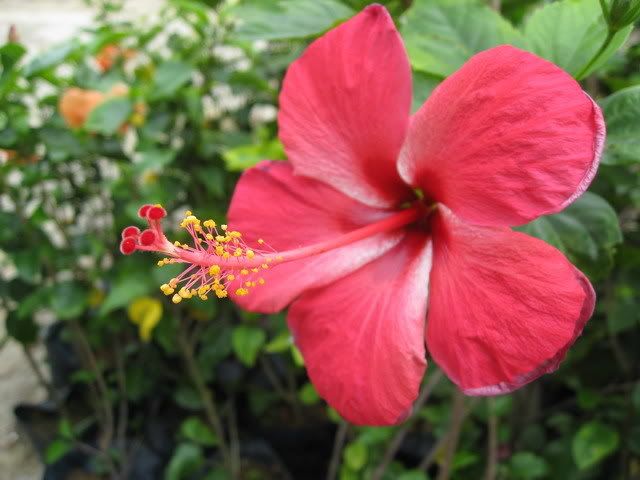
suka sangat gambar ni ...its beautiful... |
|
|
|
|
|
|
|
|
|
|
|
Reply #786 narmikyun's post
|
bunga sabung ayam ke..kalau tak silap...lama tak nampak dah bunga ni |
|
|
|
|
|
|
|
|
|
|
|
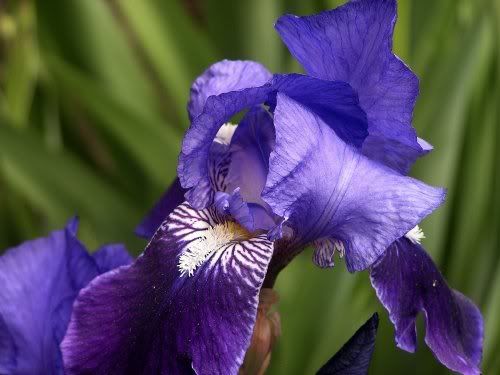
Reply #792 Manjalara2000's post
|
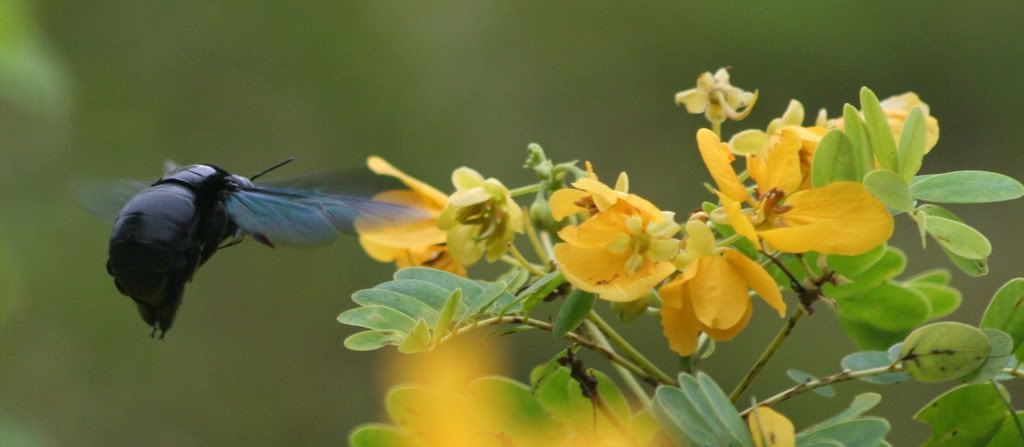
thanx Manjalara.. my attempt using manual focus.. |
|
|
|
|
|
|
|
|
|
|
|
[ Last edited by kinokuniya at 6-2-2008 12:00 PM ] |
|
|
|
|
|
|
|
|
|
|
|
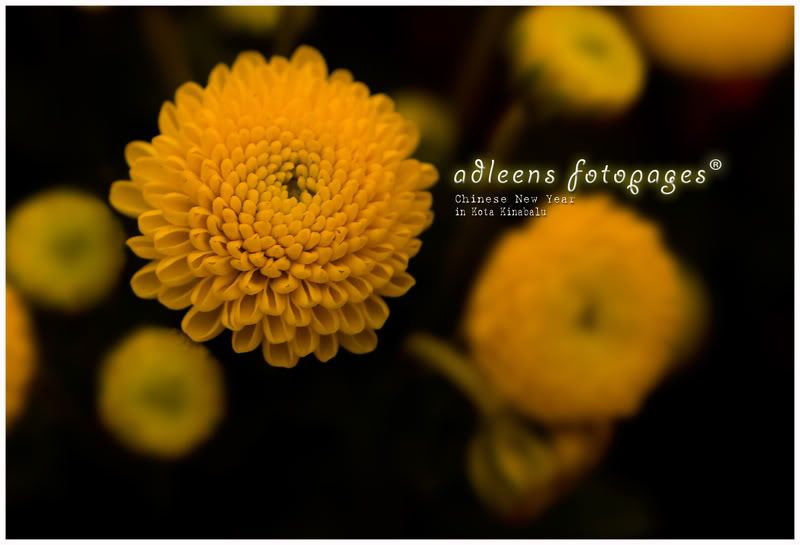
Reply #791 myown_s's post
Here is the most simple color correction in Adobe Photoshop by using Lab Color
1. Open your image in Photoshop
2. Click on the menu Image - Mode - Lab Color (if it says flatten the image, just choose flatten the image)
3. On Channels (just beside the layer tab) click on a
4. The next step we need to do is by applying Levels. Click on Image - Adjustments - Levels
5. You will see a graph. Now, change the input levels of 0 to 55, and 255 to 200
6. Repeat step 3. But this time choose b.
7. That's all folks!
[ Last edited by myown_s at 12-2-2008 10:01 AM ] |
|
|
|
|
|
|
|
|
|
|
|
waaaaaaaaa...cantek |
|
|
|
|
|
|
|
|
|
|
|
Reply #799 periwinkle..'s post
biase nampak daun/bunga ni. kecik jer, tp cepat goyang ditiup angin. ;-)  |
|
|
|
|
|
|
|
|
|
|
|
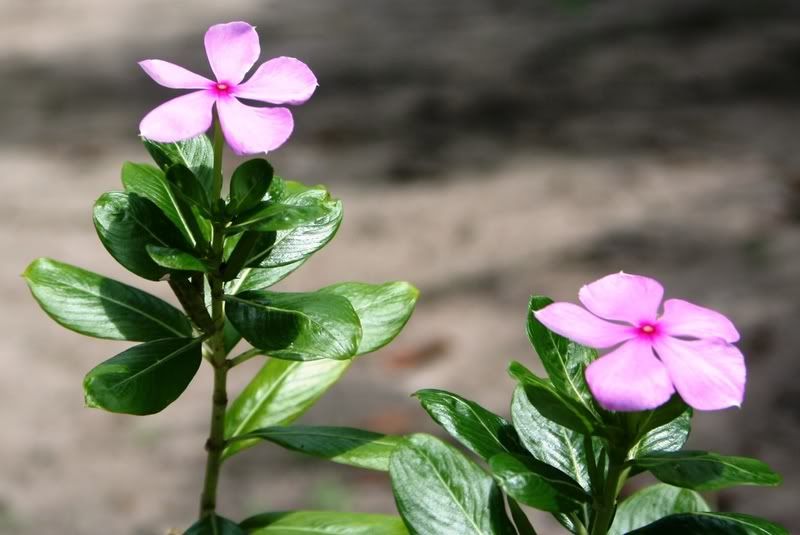
ape nama pokok nie yek??
ambik kt kampung time cuti raye cina,50mm f1.4 |
|
|
|
|
|
|
|
|
|
|
|

pokok orkid lahh |
|
|
|
|
|
|
|
|
|
|
|
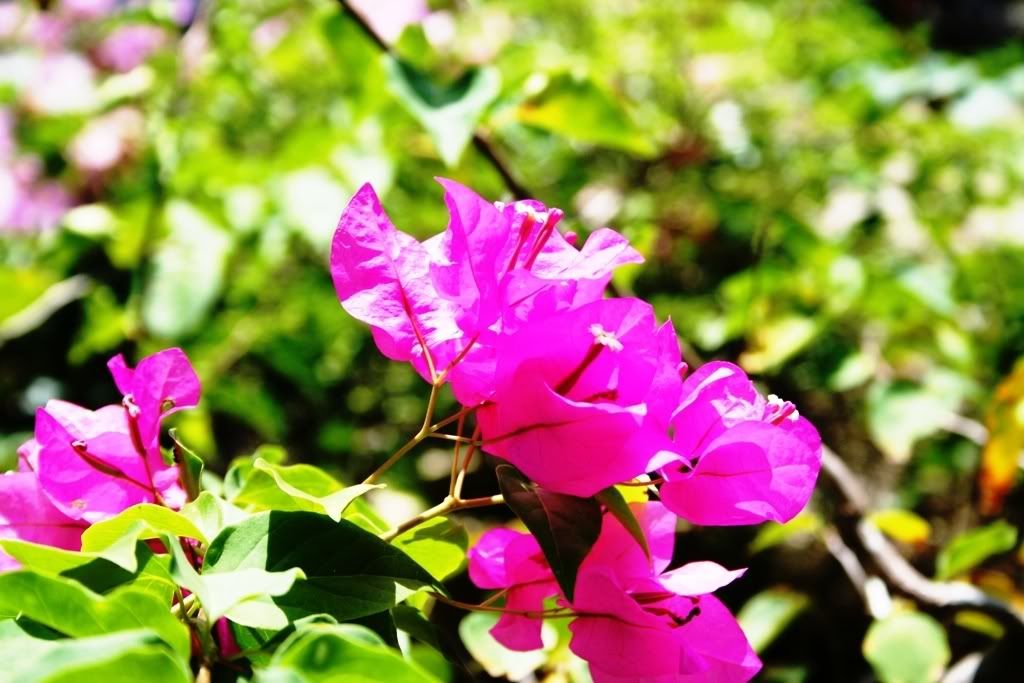
50mm |
|
|
|
|
|
|
|
|
|
|
|
bunge kertas tue overexposed la plak |
|
|
|
|
|
|
|
|
|
|
|
lawa bunge nie..ambik kt flower farm sg buloh |
|
|
|
|
|
|
|
|
|
|
|
yg nie jenis lain |
|
|
|
|
|
|
|
|
|
| |
|


 Post time 21-1-2008 12:51 PM